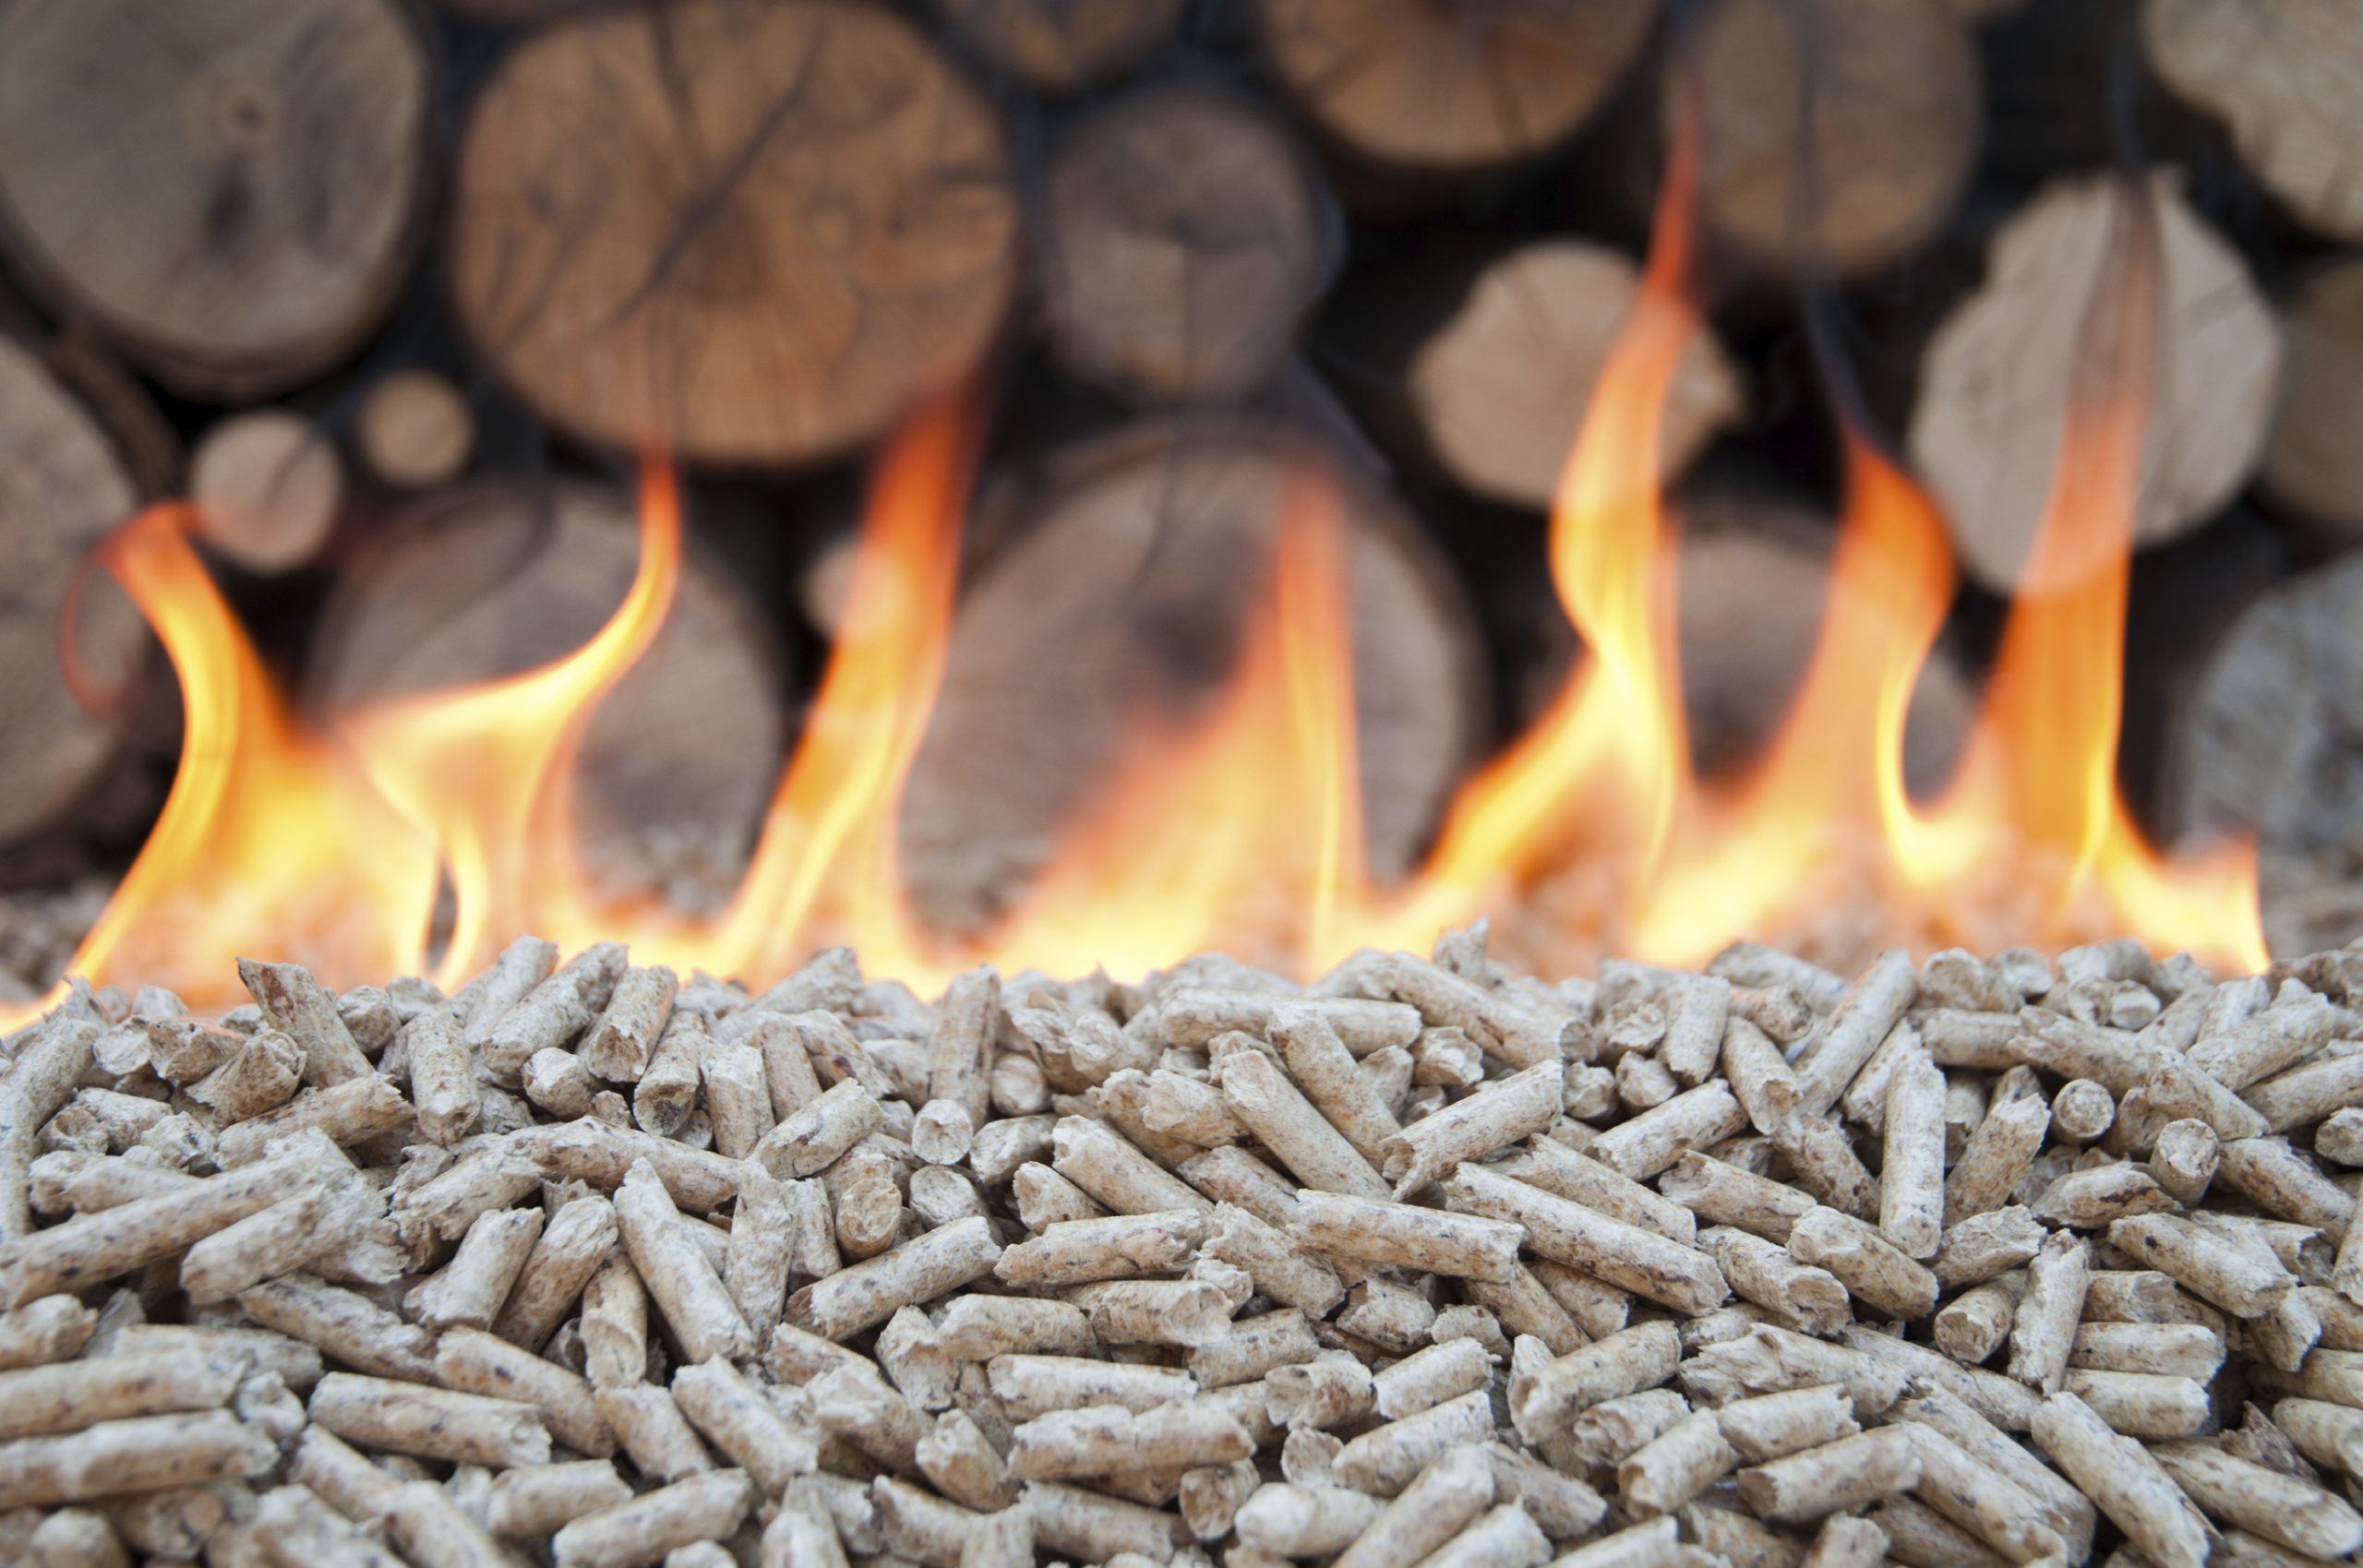
If you’re looking for an eco-friendly and cost-effective way to fuel your barbecue, fireplace, or campfire, making your own brikett is a fantastic solution. Briquettes are compact, easy to store, and can be crafted from various materials like paper, wood chips, or even agricultural waste. In this beginner’s guide, we’ll walk you through the simple steps to create your briquettes from scratch, allowing you to enjoy the warmth and convenience of briquette fuel while reducing waste and saving money.
Materials You’ll Need
Before you start crafting your briquettes, gather the following materials:
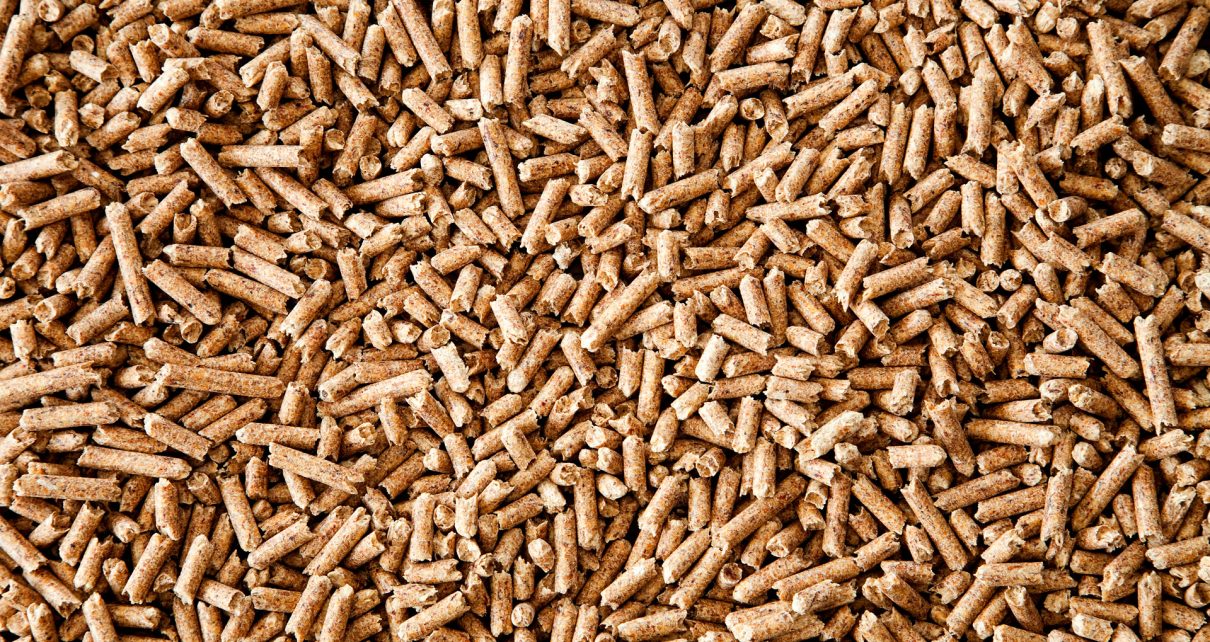
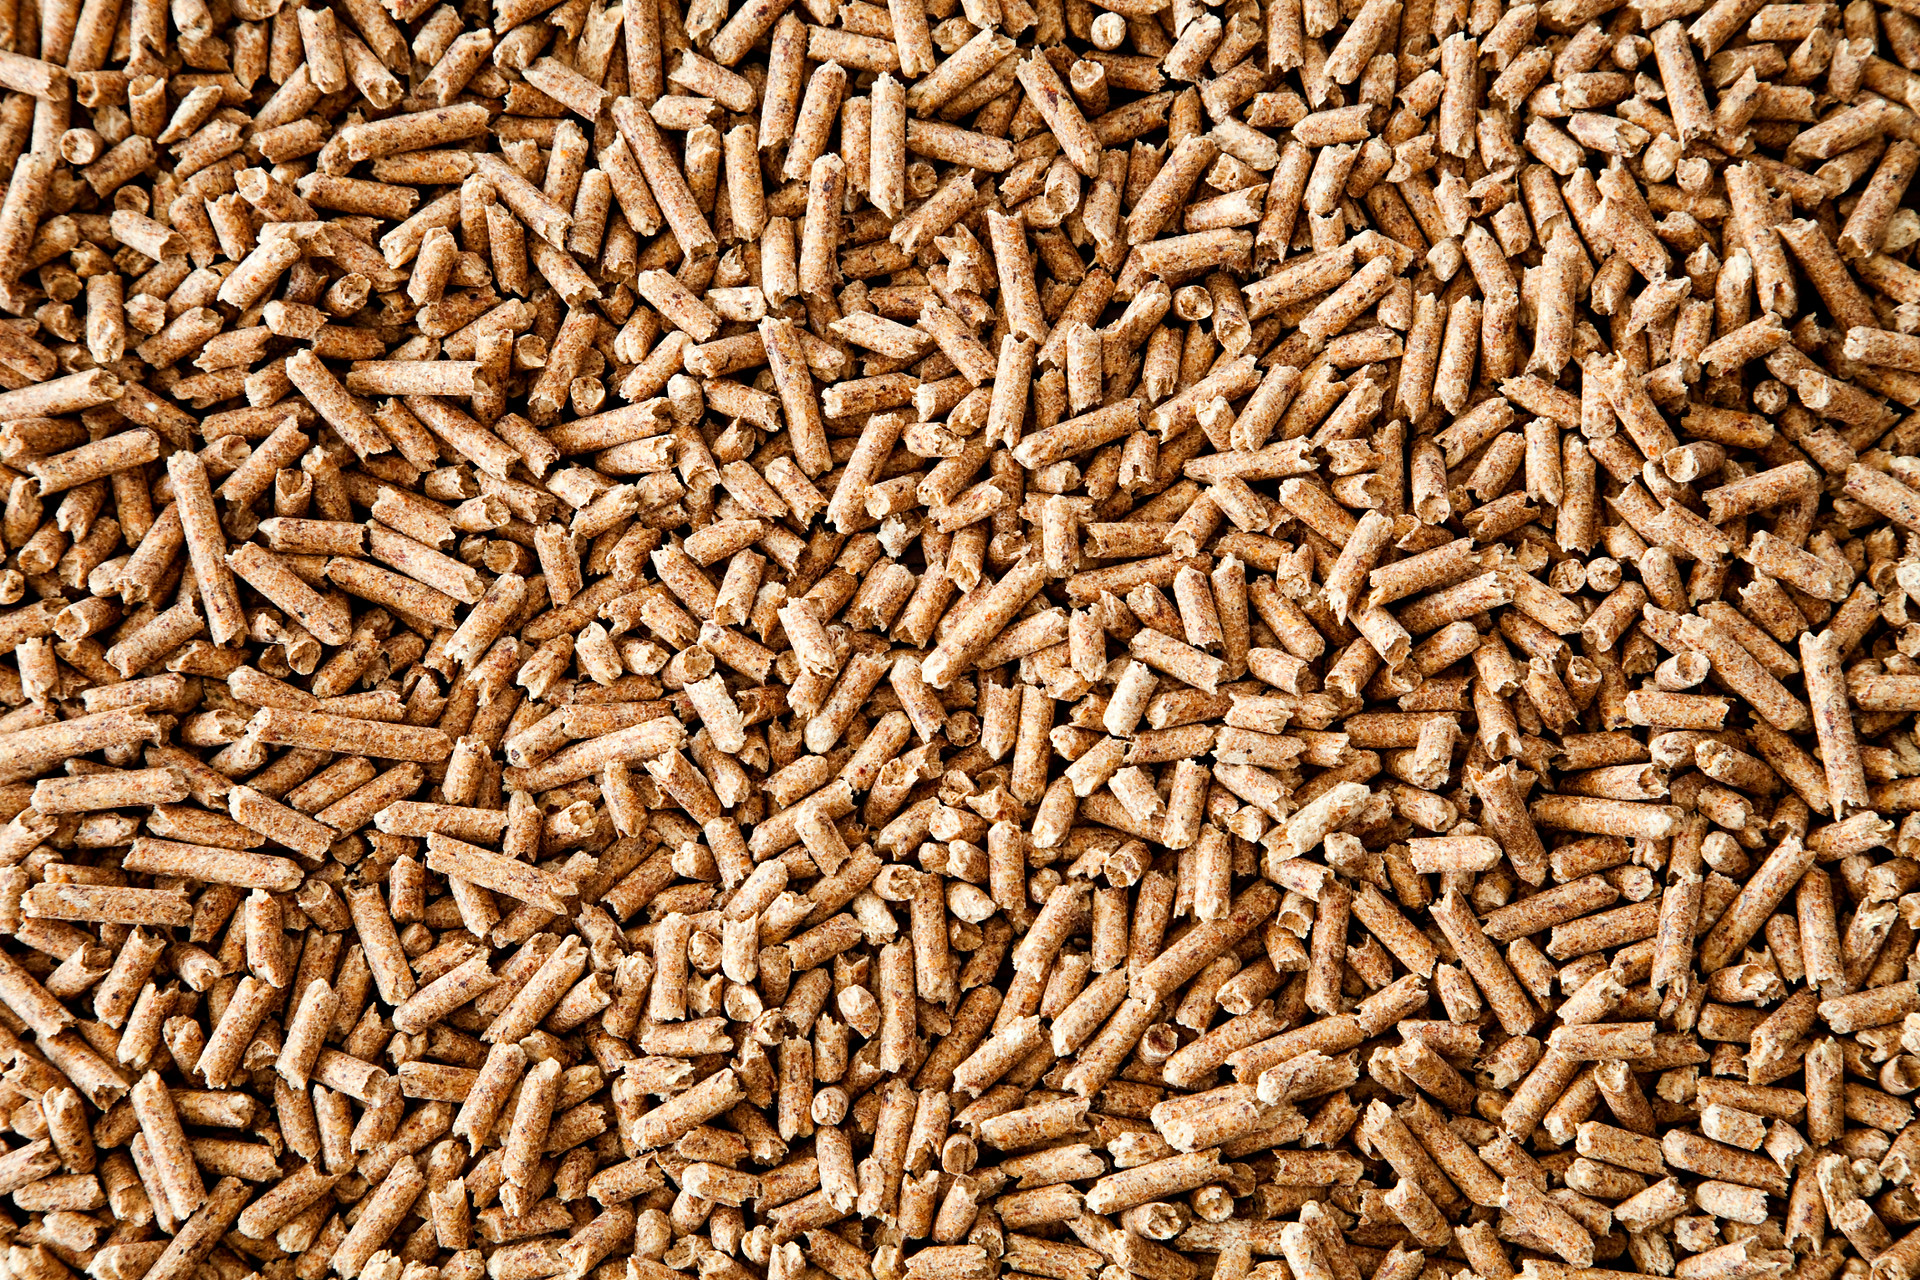
Biomass Material:
Choose your biomass material, such as paper, cardboard, wood chips, sawdust, or even dry leaves. This will serve as the main ingredient for your briquettes.
Binder:
You’ll need a binder to hold the briquettes together. Common binders include starch, cornstarch, or even old candle wax.
Water:
You’ll need water to mix with the binder and biomass material.
Briquette Mold:
A briquette mold will help you shape your briquettes. You can either buy one or make a simple one at home using PVC pipes or any other suitable container.
Mixing Tools:
Get a bucket or a large bowl for mixing your materials and a mixing spoon.
Drying Rack:
You’ll need a drying rack or a well-ventilated area to dry your briquettes.
Now that you have your materials ready, let’s move on to the step-by-step process of making your own briquettes.
Step 1: Prepare the Biomass Material
Start by shredding or chopping your biomass material into small pieces. The smaller the pieces, the easier it will be to create a uniform briquette. Make sure the material is dry to ensure a successful briquette-making process.
Step 2: Create the Binder Mixture
In a separate container, mix the binder (starch, cornstarch, or wax) with water until you achieve a smooth, consistent paste. The exact ratio may vary depending on the type of binder you’re using, so follow the instructions on the binder’s packaging.
Step 3: Combine Binder and Biomass Material
Add the binder mixture to your prepared biomass material in the mixing bucket or bowl. Stir thoroughly to ensure that the binder coats the biomass material evenly. The mixture should have a dough-like consistency that holds together when squeezed.
Step 4: Fill the Briquette Mold
Pack the briquette mold with the mixture, pressing it down firmly to eliminate any air pockets. Make sure the mold is tightly packed to create sturdy briquettes.
Step 5: Remove and Dry
Carefully remove the briquette from the mold and place it on a drying rack or in a well-ventilated area. Allow the briquettes to air dry for several days, turning them occasionally to ensure even drying. The drying time may vary depending on the weather conditions and the type of biomass material used.
Step 6: Store Your Briquettes
Once your briquettes are completely dry, store them in a cool, dry place away from moisture to prevent them from deteriorating.
Congratulations! You’ve successfully created your own briquettes. These homemade briquettes are cost-effective and environmentally friendly, as you can use recycled materials to fuel your fire. Experiment with different biomass materials and binders to find the perfect briquette recipe that suits your needs.
Making your own briquettes is a rewarding and sustainable way to enjoy the warmth and ambiance of a briquette-fueled fire while reducing your carbon footprint. So, gather your materials and get started on your briquette-making adventure today!