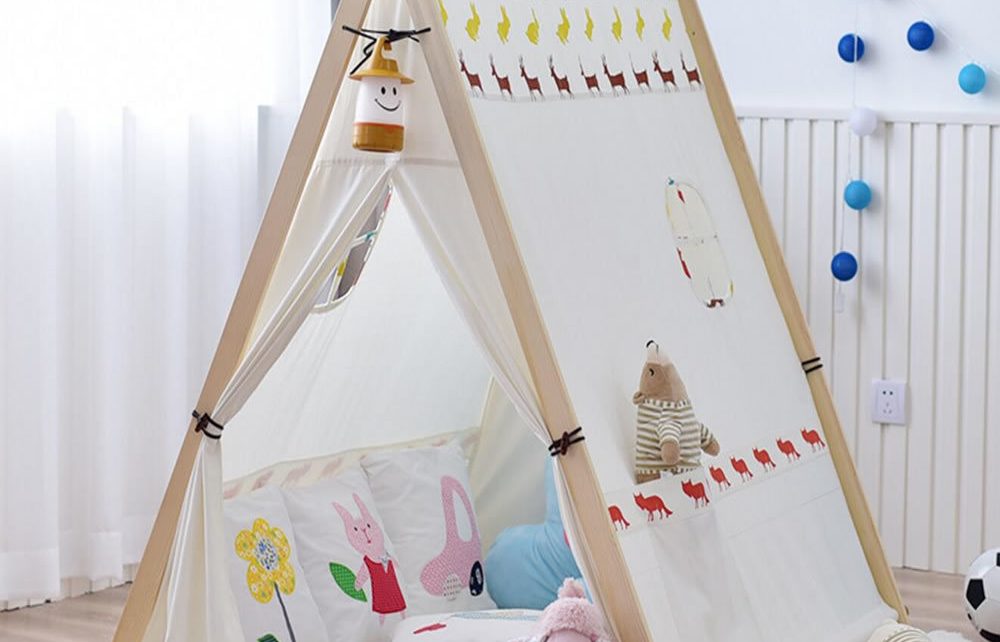
The unique and traditional accommodation of the tipitelk has revived the allure of outdoor camping. Perfect for campers seeking a blend of ancestral living and a touch of modern convenience, tipi tents offer a spacious and versatile camping shelter. If you’ve recently gotten your hands on a tipi tent, you may be puzzled or overwhelmed by setting it up. Worry not! This guide will walk you through each essential step, ensuring your tipi tent setup is as smooth and straightforward as possible.
1. Choosing the Perfect Location
Before unfurling your tipi tent, finding a suitable location is crucial. Look for a flat area free from sharp objects and rocks that could damage the tent floor or make your stay uncomfortable. Ensure that the chosen site is reasonably far from fire pits and has good drainage to avoid water pooling during rainfall.
2. Laying the Groundsheet
Begin by spreading out the groundsheet or footprint where you’ve decided to set up your tipi tent. The groundsheet is a barrier between the tent and the ground, protecting against moisture and potential damage. Ensure it is laid out flat and smooth to avoid trips and falls.
3. Assembling the Poles
Most tipi tents have a central supporting pole, which must be assembled and positioned correctly. Connect the pole sections firmly and ensure that it stands straight and stable. Be mindful of the pole’s height to ensure it matches the peak height of your tipi tent.
4. Positioning the Tipi Tent
Place the tipi tent over the groundsheet, aligning it properly with the supporting pole. Ensure that the tent’s door faces your desired direction, usually away from prevailing winds. Align the peak of the tent with the assembled pole to allow for proper support.
5. Pegging the Tent
Secure the tipi tent to the ground using the provided pegs or stakes. Insert them at a 45-degree angle, ensuring they grip the ground firmly. Start by pegging the door section, then work around the tent, keeping the fabric taut.
6. Attaching the Tipi to the Pole
Most tipi tents will have a conical shape, with the pole supporting the peak. Attach the top of the tent to the pole following the manufacturer’s instructions. Make sure it is securely attached to prevent any collapse or instability.
7. Adjusting and Tightening
Once the tent is pegged and the pole is in position, go around the tent to adjust and tighten where necessary. Ensure that the fabric is evenly distributed and taut, preventing any sagging or loose areas. Make adjustments to the pole if necessary to keep the tent stable.

8. Final Touches and Considerations
Your tipi tent is now set up, but you should add some final touches. Consider adding an inner lining or mat for extra comfort. Check the tent’s ventilation and make any required adjustments. Familiarize yourself with the tent’s features and ensure everything is functional.
Remember, practice makes perfect. The more you set up your tipi tent, the more effortless the process will become. Enjoy your unique outdoor dwelling, and happy camping!